Some luthiers have rear mounted in the wood with Jazz layout very successfully, but it’s not a trivial install !!
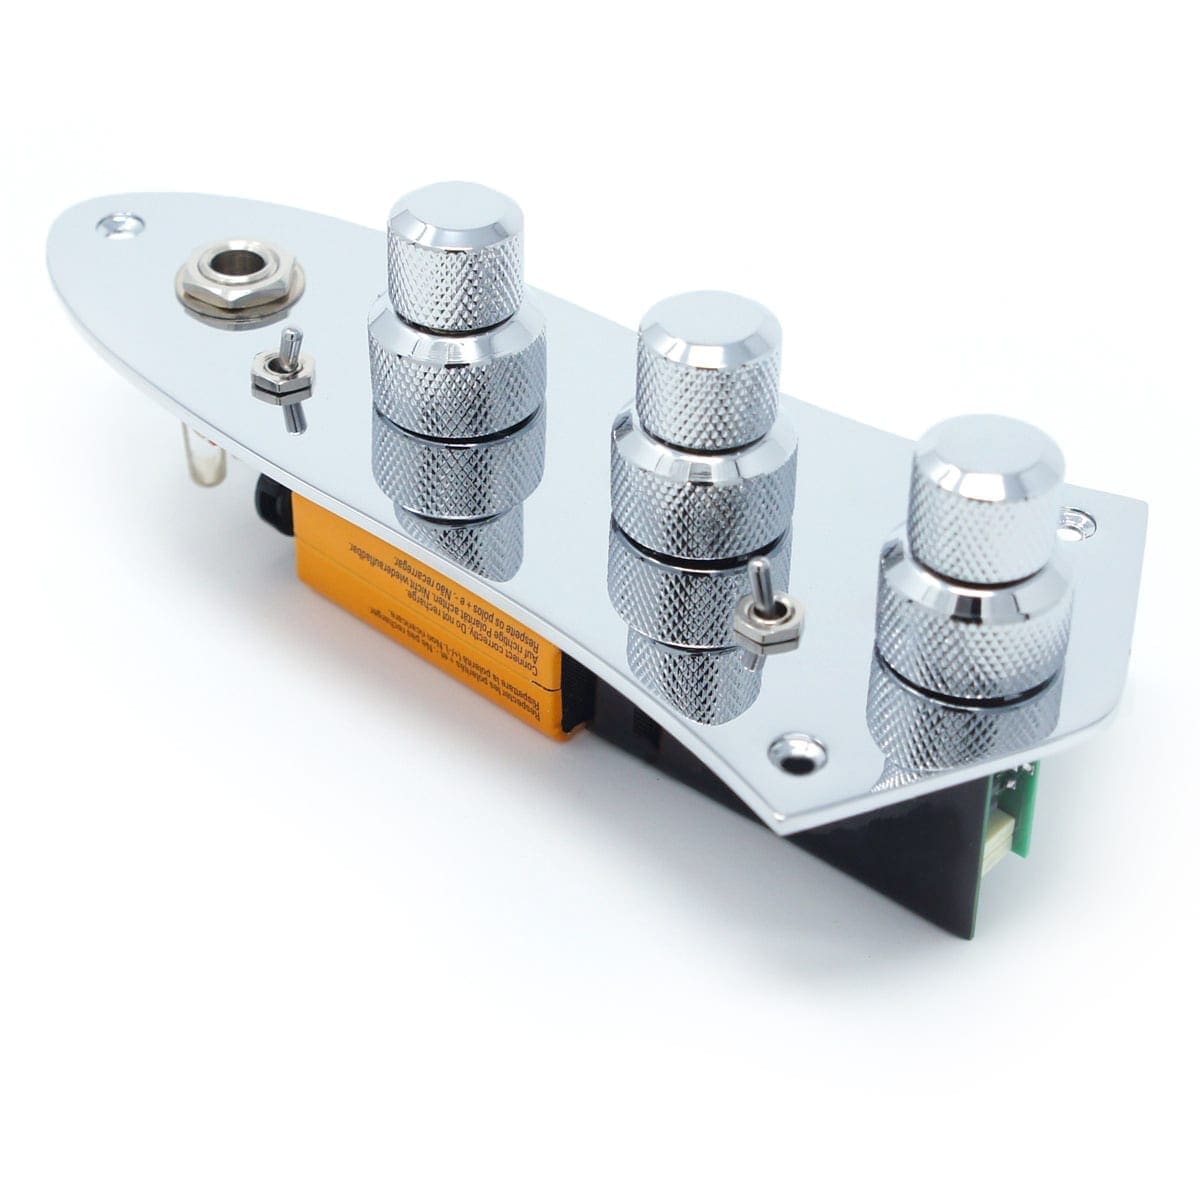
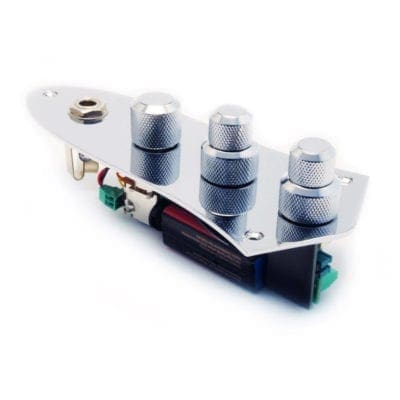
The knobs/pots are mounted in a straight line, directly attached to the circuit board so the layout has to be exactly that of a Jazz with fixed knob spacing, plus there are 2 tiny toggles with fixed locations too.
The threads are short too, designed for a metal plate thickness.
TOGGLE REMOVAL
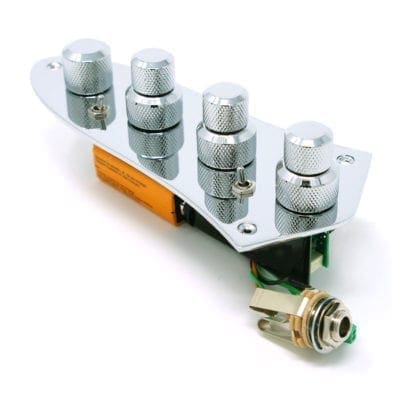
+ The 3P cap is not attached to the toggle, it’s very close.
* Bend it back a little to get access to the toggle pins.
+ It’s not necessary to trim the epoxy, the PCB will get damaged.
TO GET THE TOGGLE OUT
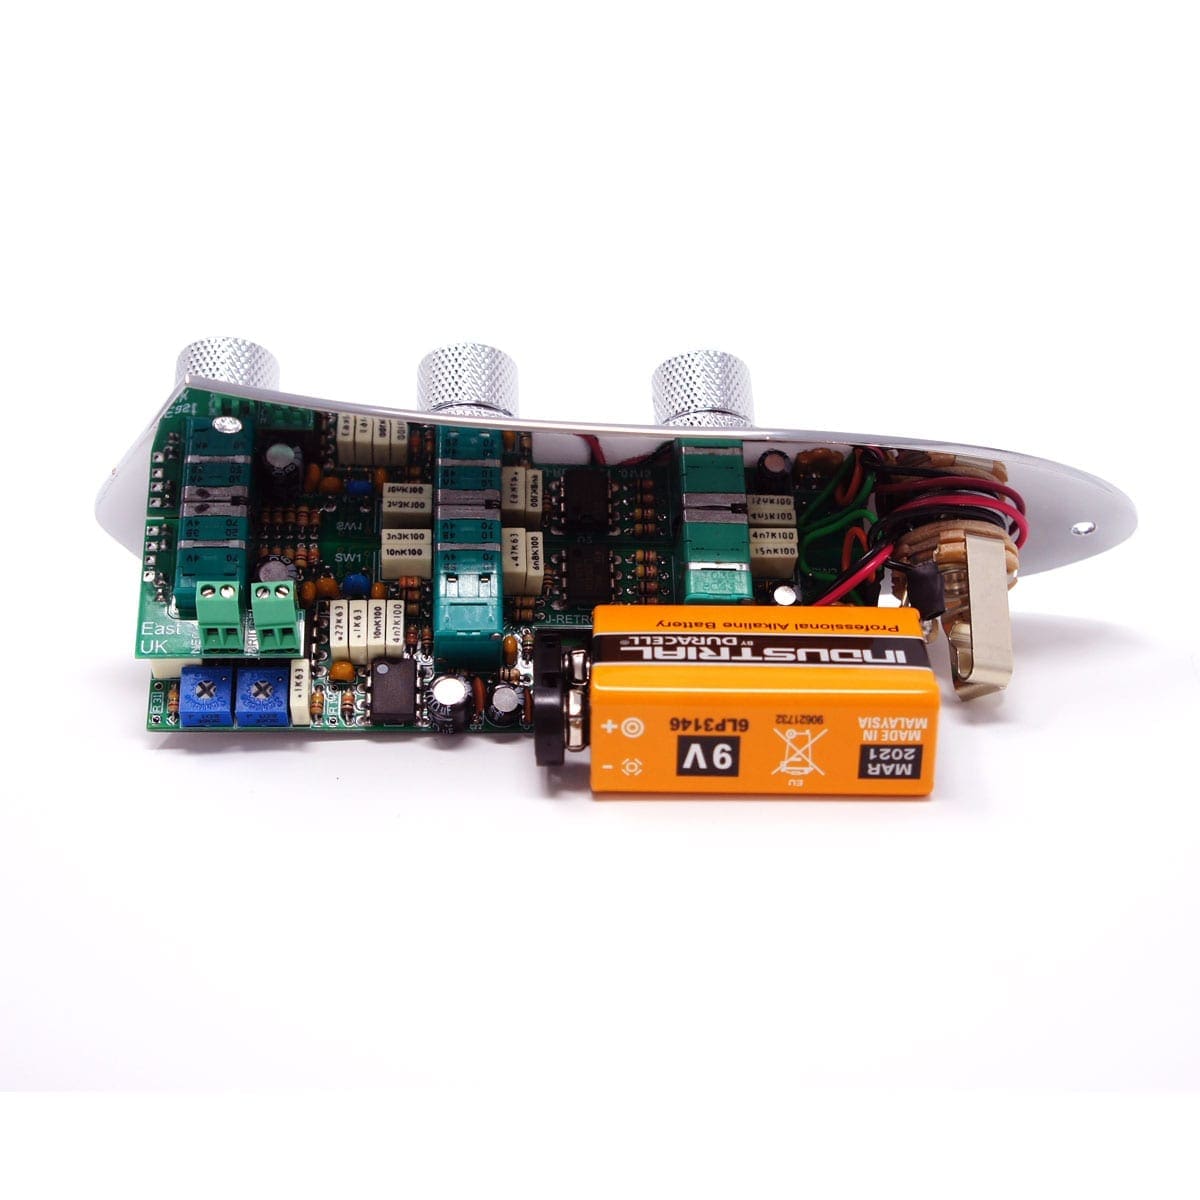
+ Remove the circuit board from the plate and hold firmly in a vice.
* Without the plate you’ll have access to the 5 pins.
+ Add more solder to all the pins, maybe so that there’s a complete web between the 3 pins backing on to the cap.
+ With some pointed pliers ready to ease the toggle out by gripping within the hole where it broke off, do as follows:
+ Heat all the pins up in turn until they are all molten whilst holding the pliers gripping the toggle.
* If it seems there’s not enough solder, add some more.
+ As the toggle begins to free up, ease it out without force, any force would likely destroy the through-hole plating.
+ As it begins to free up, heat the 3 pins and then the 2, and use a gentle rocking motion with the pliers to ease out the toggle.
* It may be you can you use a gently ‘circular motion’ to heat all the pins in turn, ot the 2 larger retaining pins and then the 3 webbed by the cap.
+ A slight gentle pull is fine, the PCB is thin and springy, but no yanking.
+ The heat will help to loosen the toggle from the epoxy.
* There will be a little moulded shape left within the epoxy, where new toggle will can be pushed into place.
+ Hopefully the toggle can be eased out while the hot solder is molten.
+ Once out suck out an solder in the holes ready for a new toggle.